Slideshow
Introduction to sharing
Sharing a walk using a slideshow
A slideshow allows you to select items from a walk you would like to share and show them on your device.
To start, press the Slideshow button in your recorded walk.

The next screen offers two options: Run Slideshow or Edit Slideshow.

Edit slideshow
The first option in Edit slideshow is to select all items, none, or only images and audio recordings.
By default all items are initially selected for the slideshow.
Otherwise the primary difference between Run and Edit Slideshow is that the edit mode presents items that you have previously rejected. This means that you can re-select them to restore them to the slideshow.
Press Continue with Editing to edit the slideshow.

Editing a title slide
The title slide is automatically produced from the name of the walk.
The only way this slide can be edited is by changing the name of the walk.
However, slides can be removed from the slideshow by clicking on the checkmark in the upper right corner.

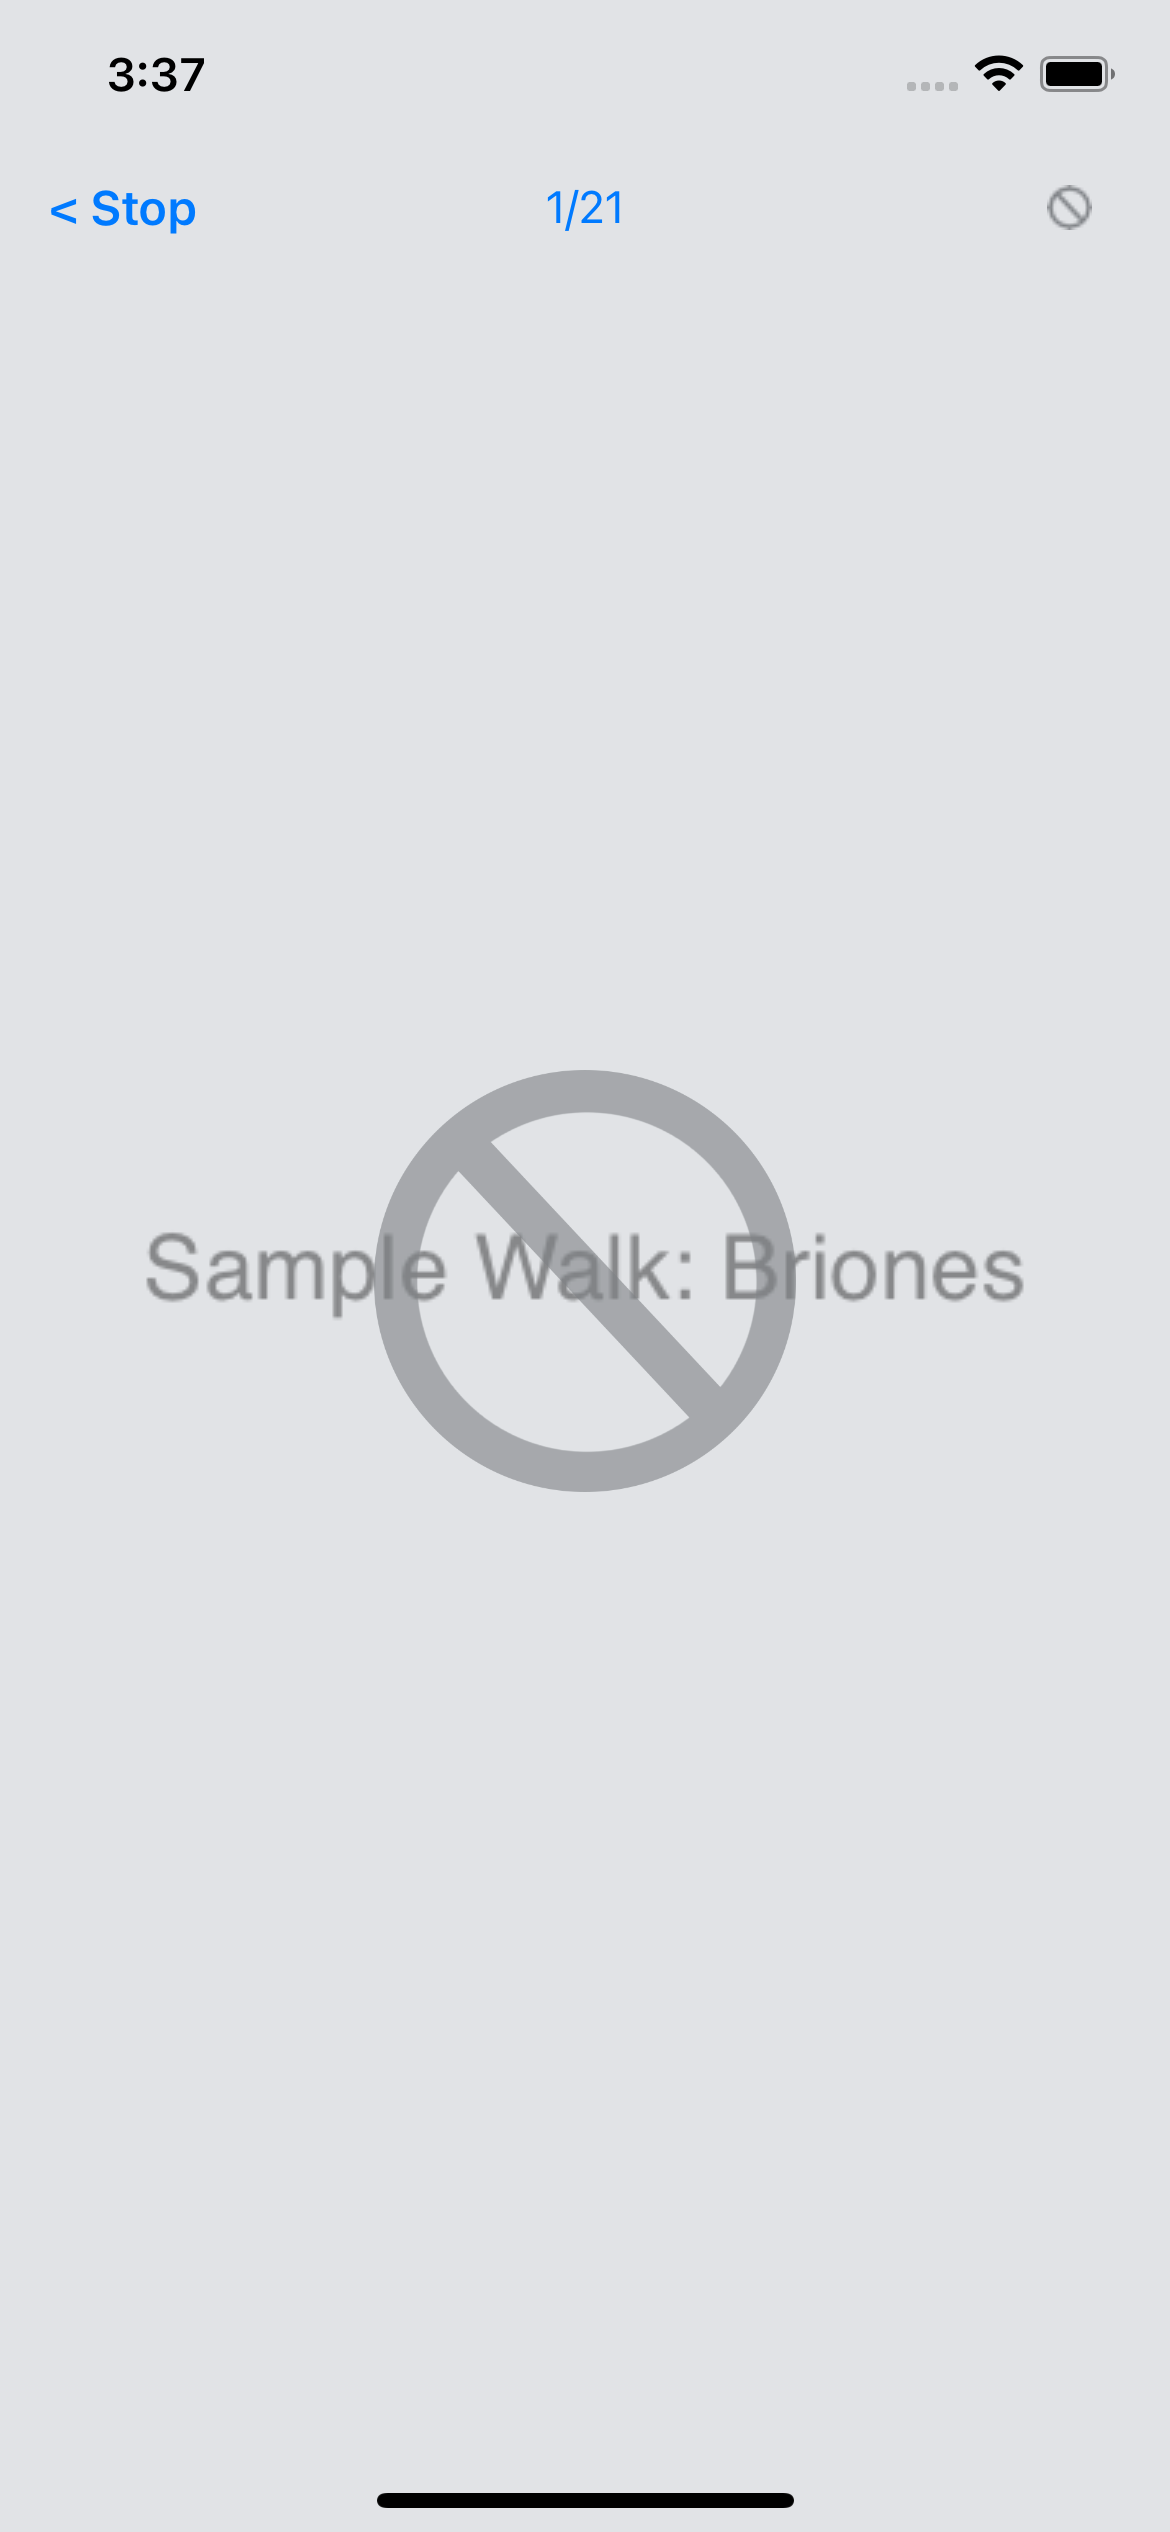
Removed slide
A slide removed from the slideshow is marked by a “no symbol,” that is a circle with a slash through it. It can be re-instated by clicking the no symbol button in the upper right corner.
Editing image slides
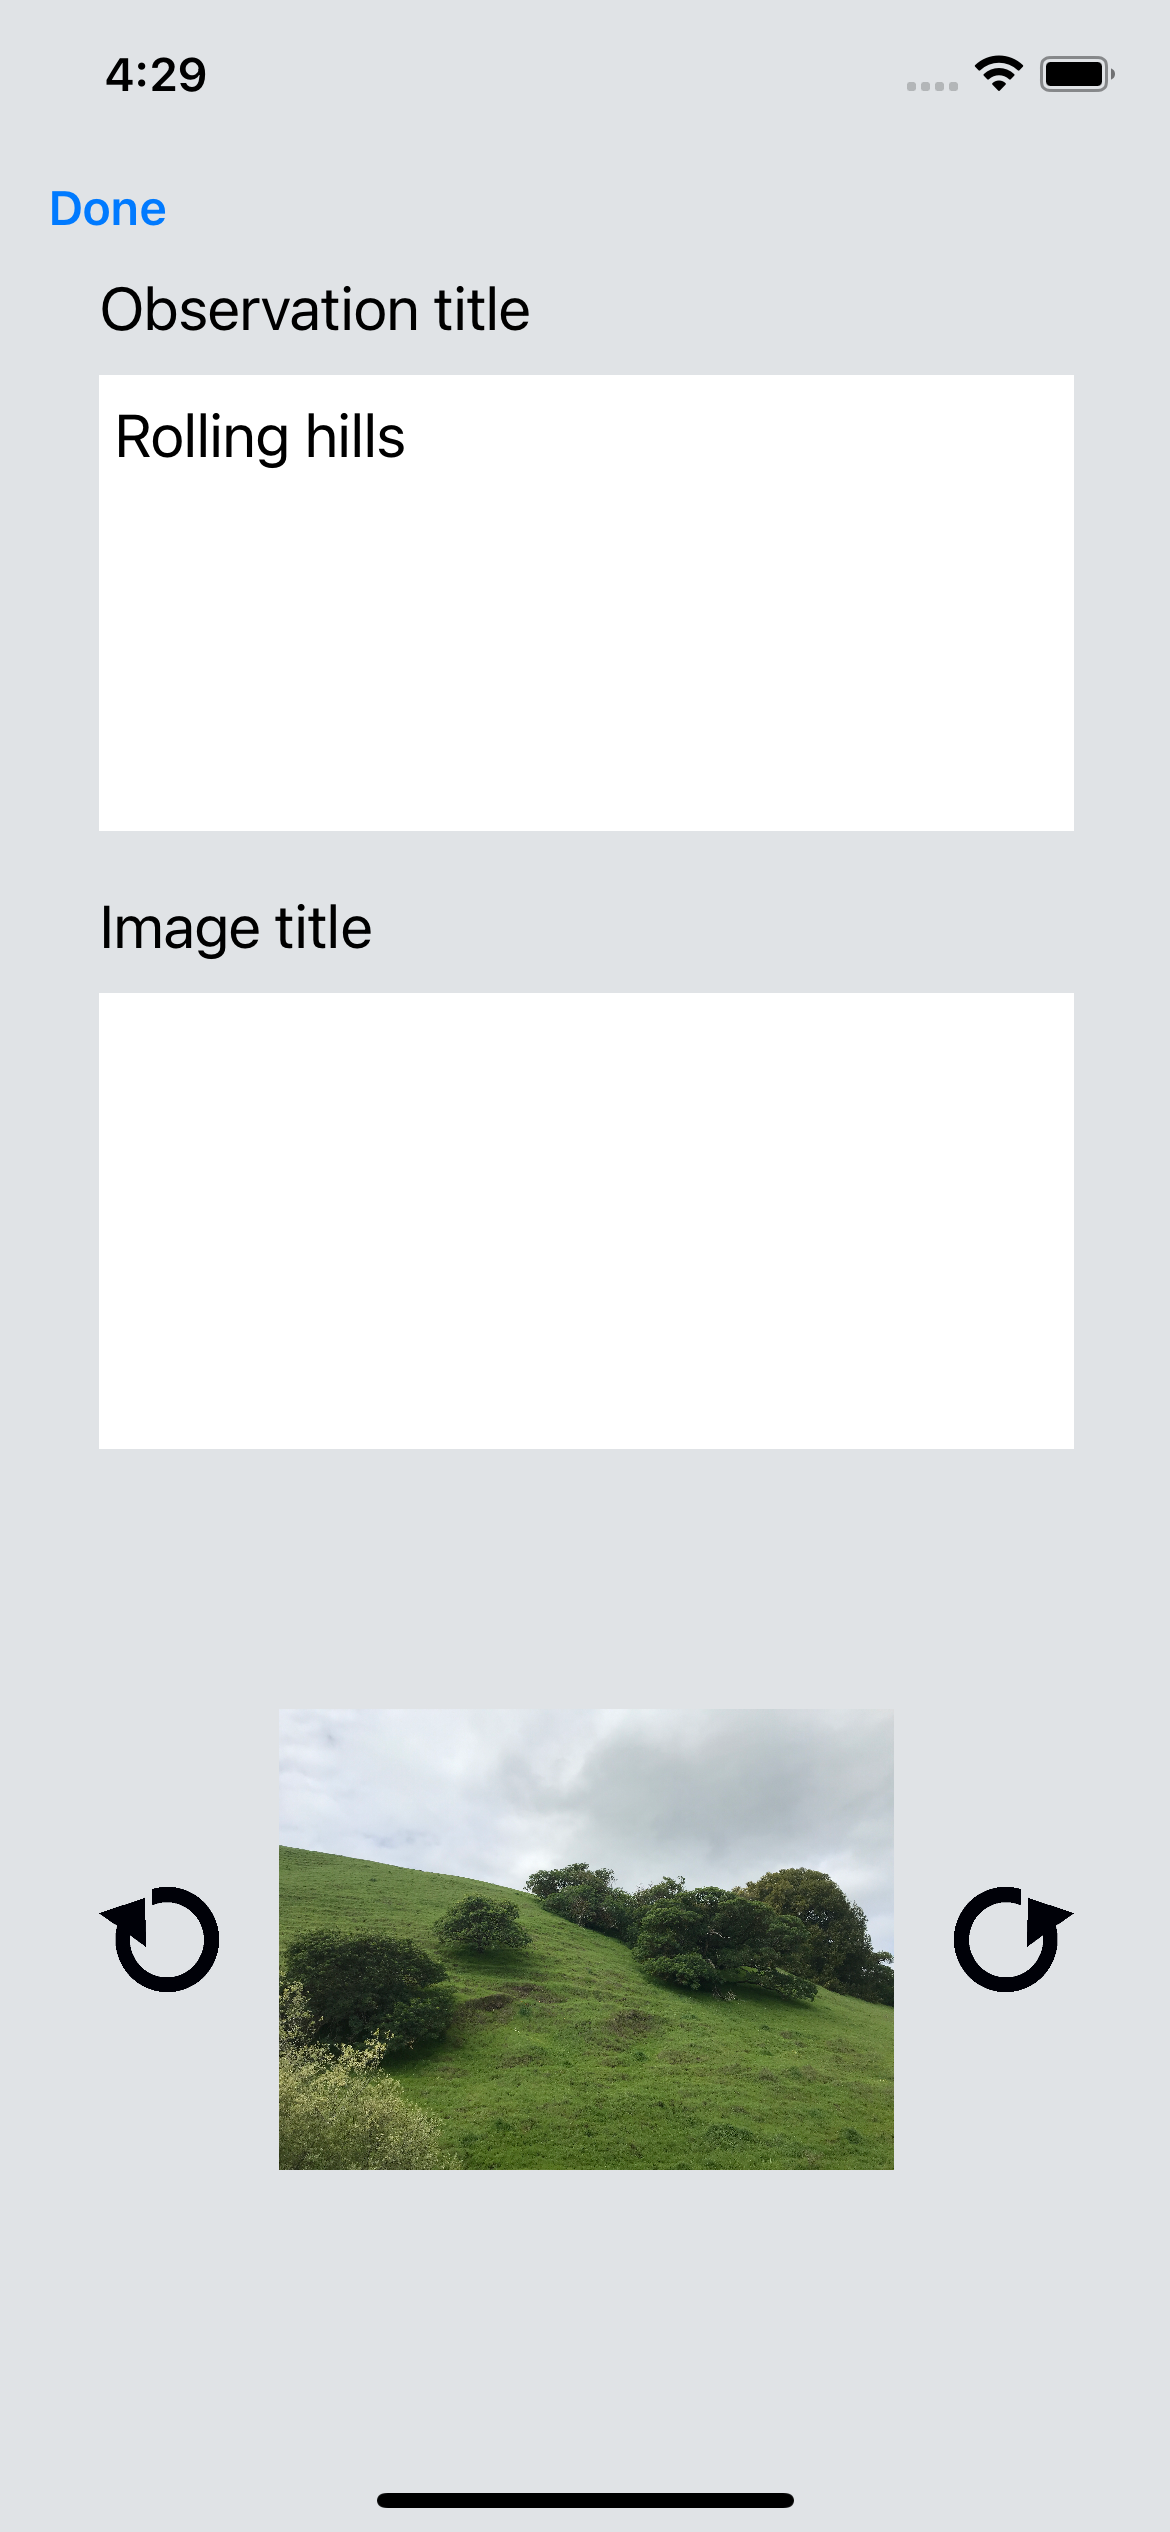
Selecting Edit opens a window for editing image titles or rotating the image.
If images need to be modified they must be exported to another application then re-imported into NatureNotes. (For example, an image can be emailed, then modified, then read into Photos. The image can then be transferred to an observation in NatureNotes using the +Library Photo button.)
Because observations can contain multiple images, each image can also be assigned its own title. Both the observation title and image title will annotate the image in the slideshow.

Finished editing?
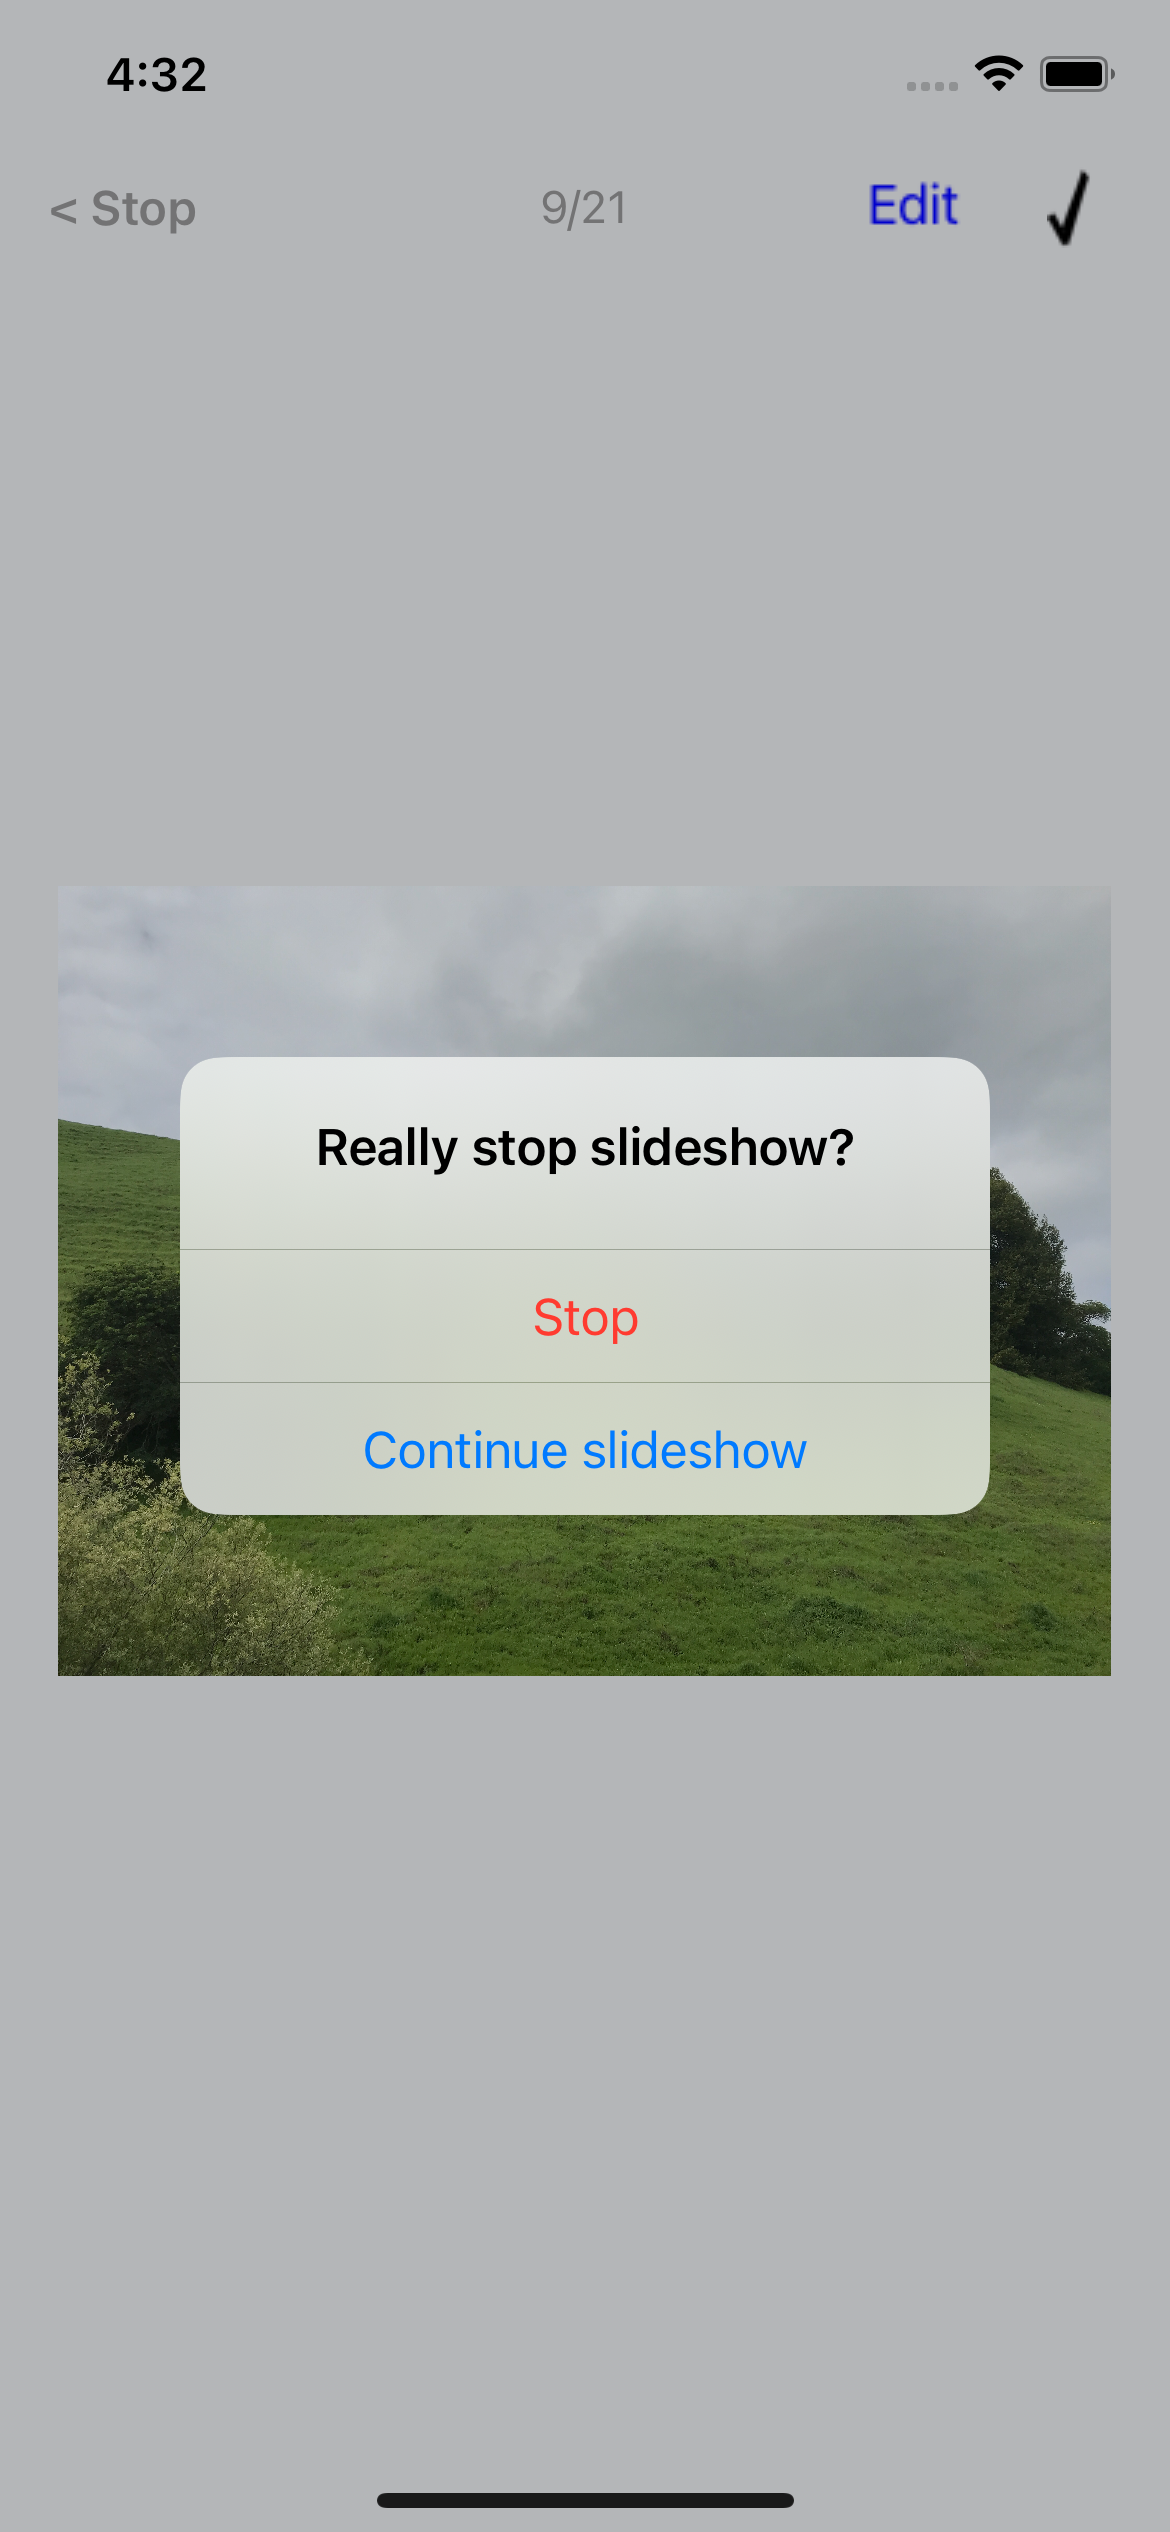
Stop the slideshow to take you back to the main walk screen.
.
Run the slideshow
Select Slideshow again and select Run Slideshow. This will suppress the slides you decided you didn’t want to include and will still give you the option to edit titles and hide more slides.
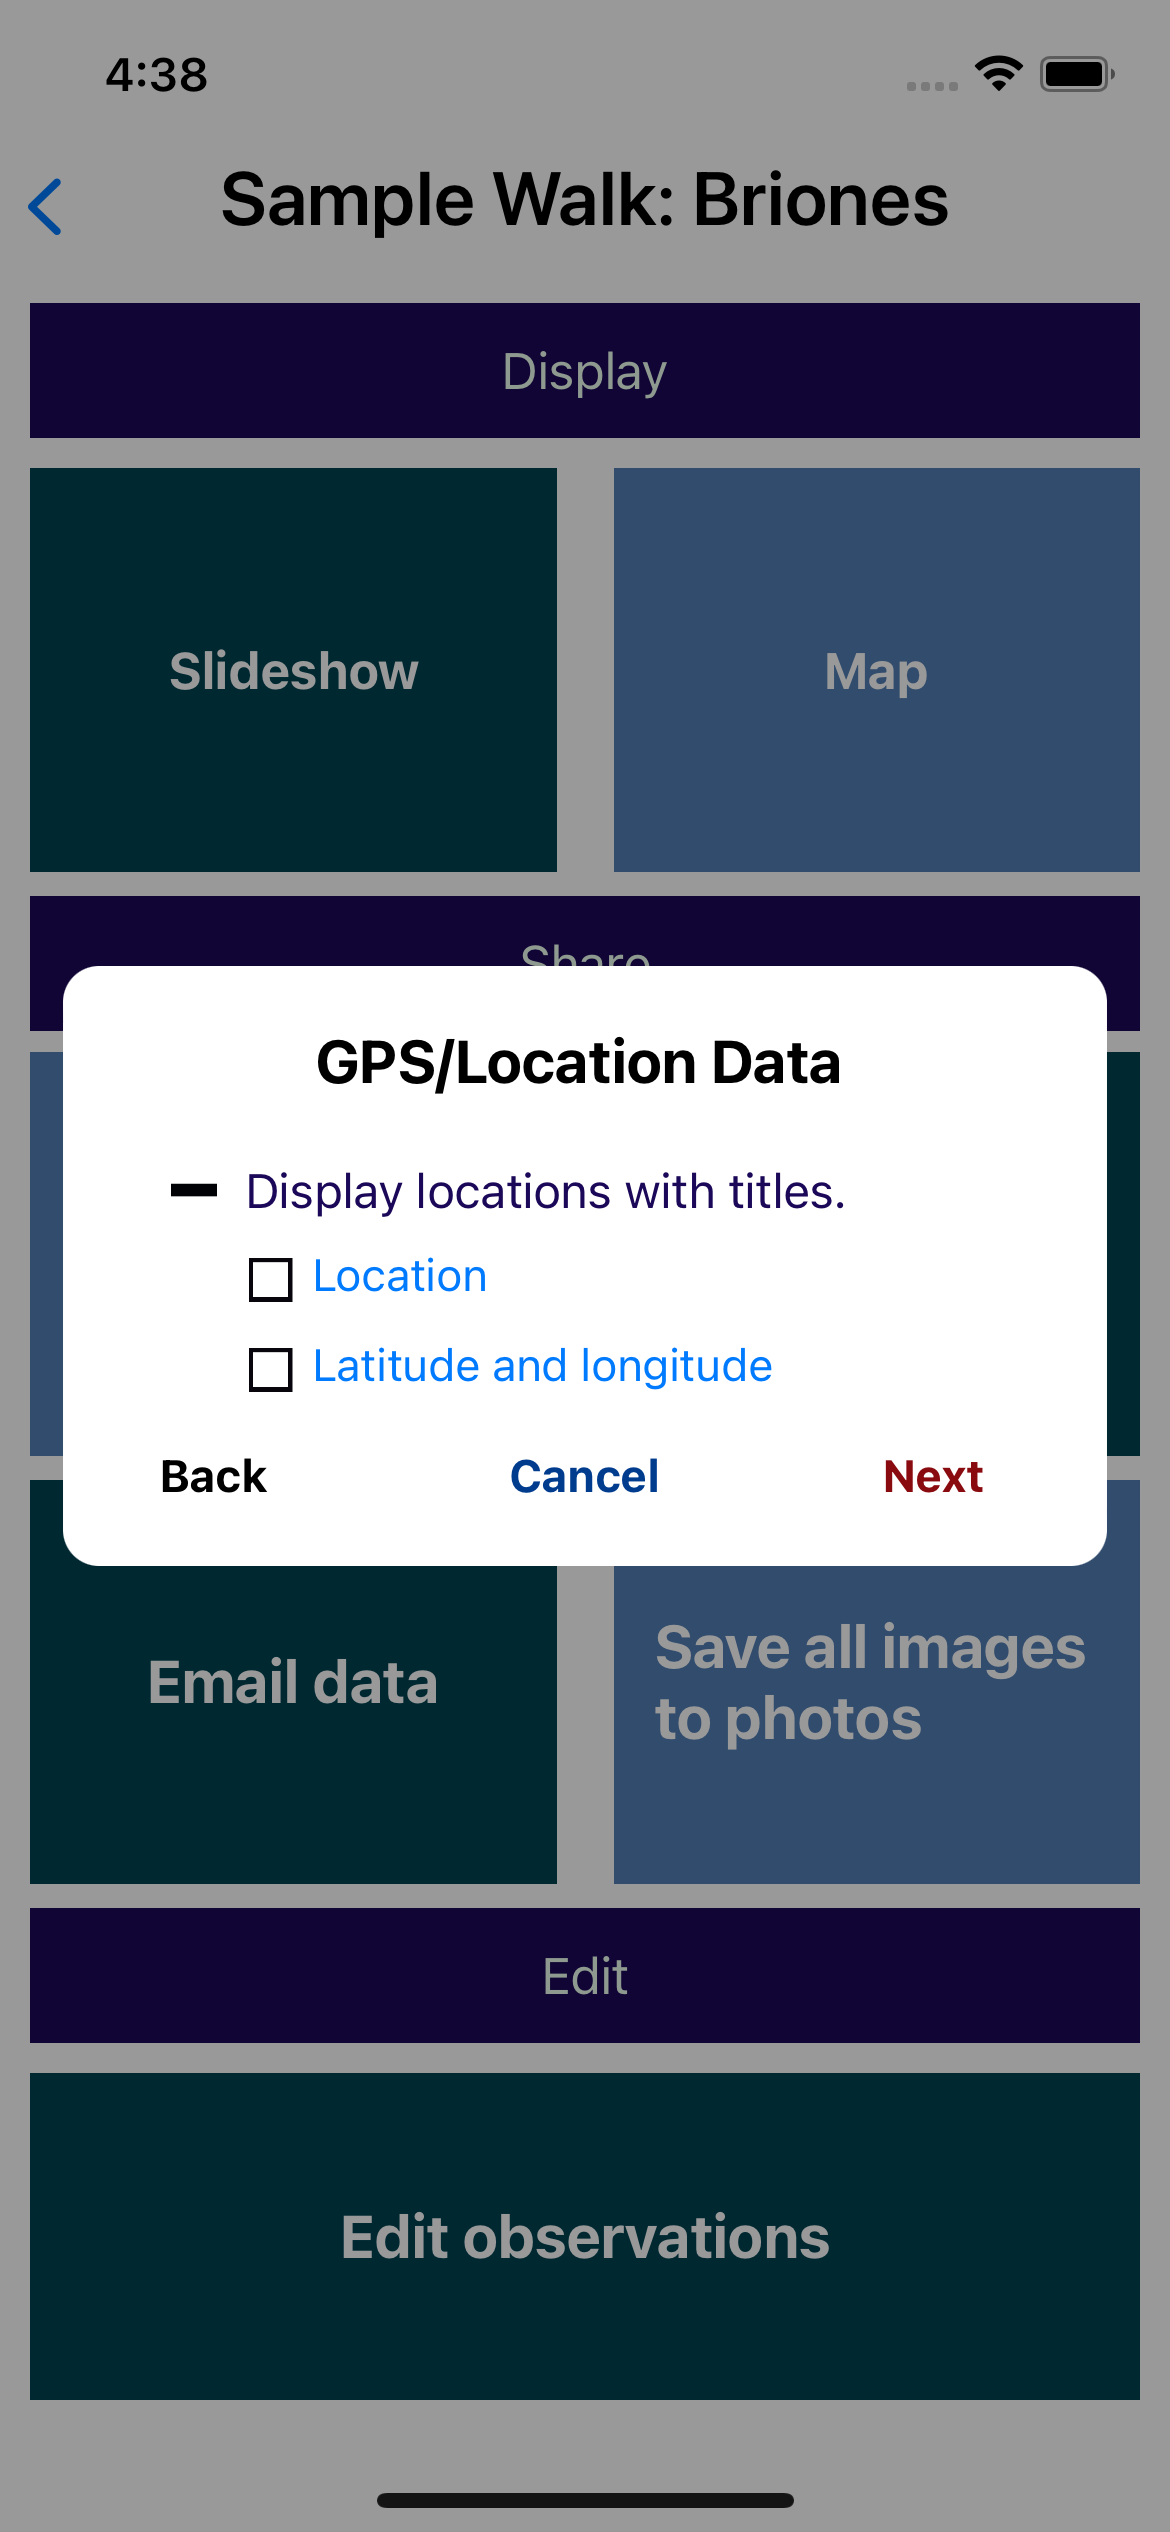
You have a limited set of options as to how you present the titles and images: Titles of images and audio recordings can either be on separate slides or shown as subtitles. In addition, more precise location data may be presented for each slide.

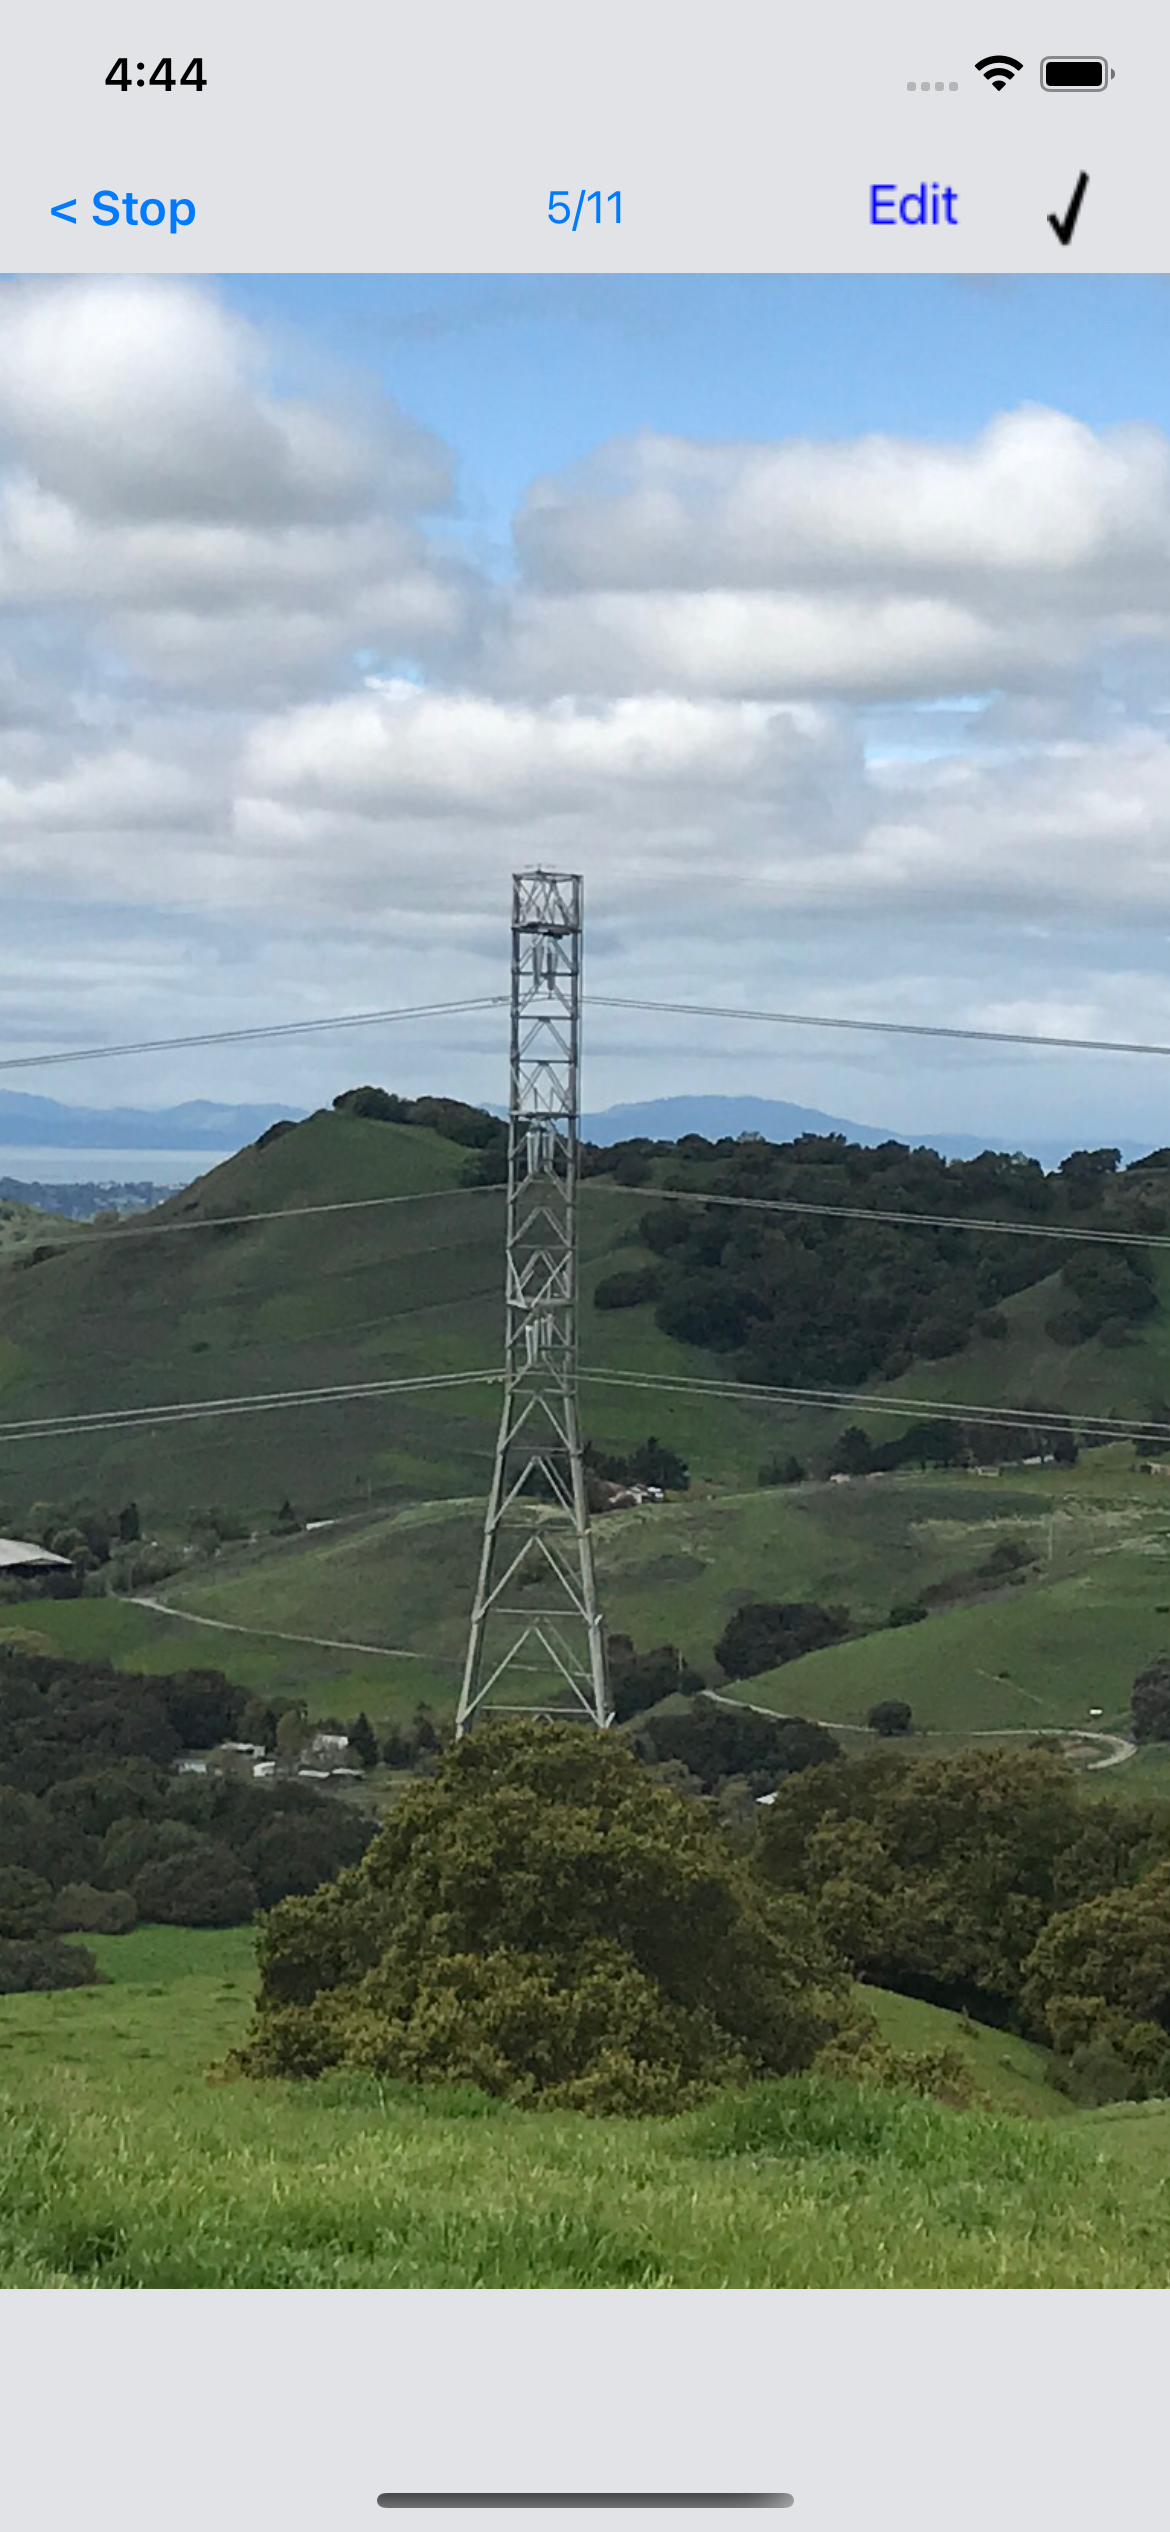
Viewing slides
Slides may be swiped, or clicked on the left or right arrows to move to another slide. Arrows fade out if they overlay an image.
Tapping on an image allows you to move around and expand the image to see more detail. Tapping the image again restores it to its previous size and position on the screen.

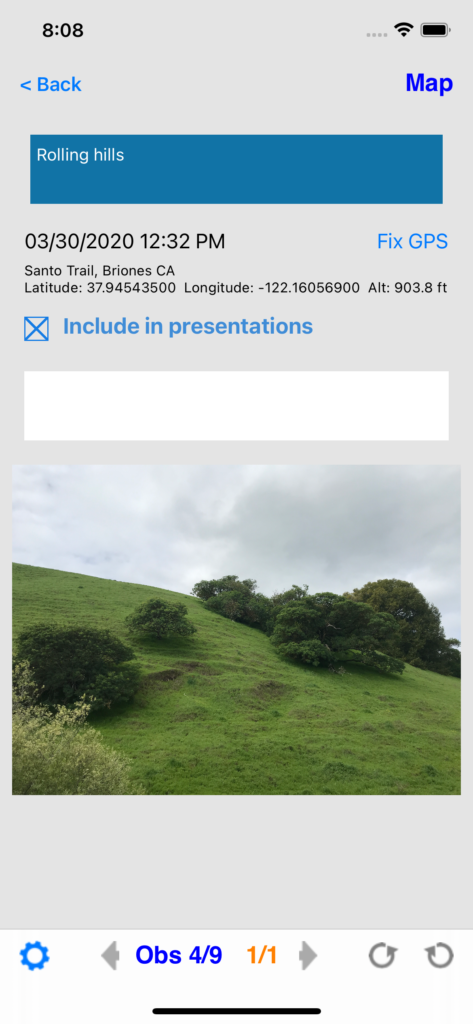
You don’t have to use the slideshow function to include/exclude items
Although the slideshow function takes you through everything in sequence, the normal edit windows give you an opportunity to include or exclude items from the slideshow by checking or un-checking the Include in presentations checkbox.
Note that even if you have excluded observation text from the slideshow (see image to the right), the contained image (with a possible image title) may still be included. This allows you finer control over the contents of the slideshow.

The importance of the slideshow
The slideshow represents what you wish to share with an audience.
Other sharing functions (send email, create Web page) allow you to choose only your slideshow selections or the entire set of observations.
Therefore having an edited and well-defined slideshow simplifies defining what you would like to share, but at the same time lets you keep everything else in the walk record.